This post was supposed to be a part of an arabian themed makeup collaboration, but... something happened in the process, so I submitted another look for that collaboration, and this creation of mine was left abandonned. Too bad, remembering it took me 4 hours to create this. This is not such an easy one!
I meant to re create Katy Perry makeup in her Dark Horse video, but again, something went wrong in the process, I couldn't imitate it pretty well. And out of desperation, adjusting with my rookie ability, I improvised a lot. I mean, really like... A lot.
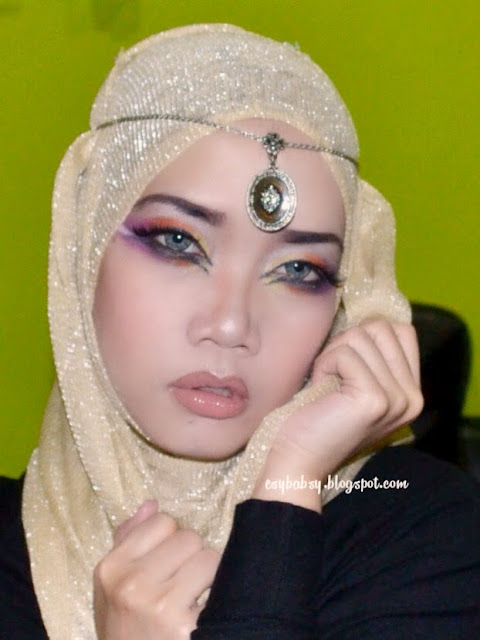
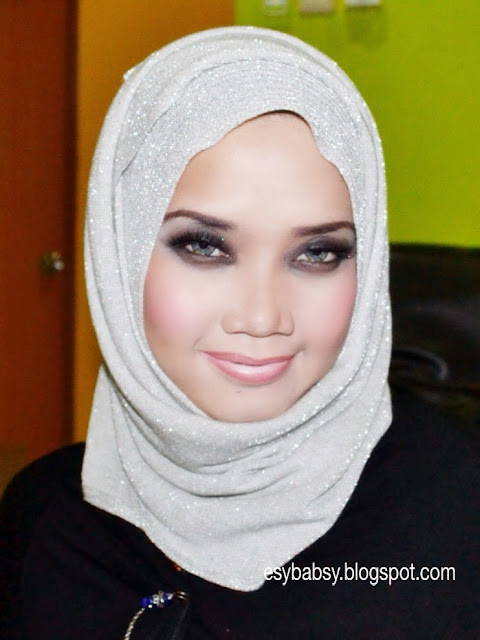
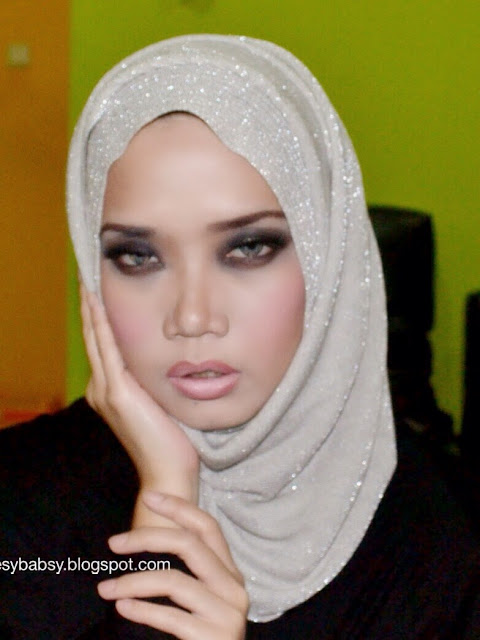
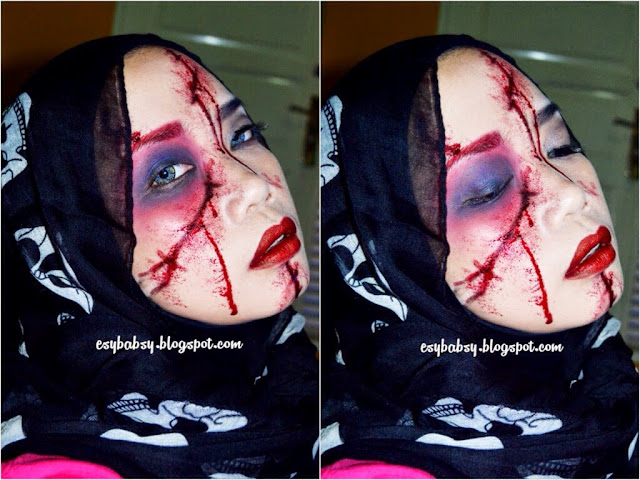
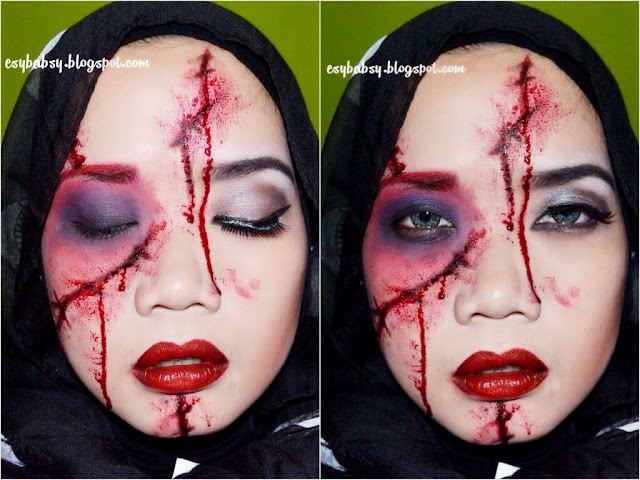
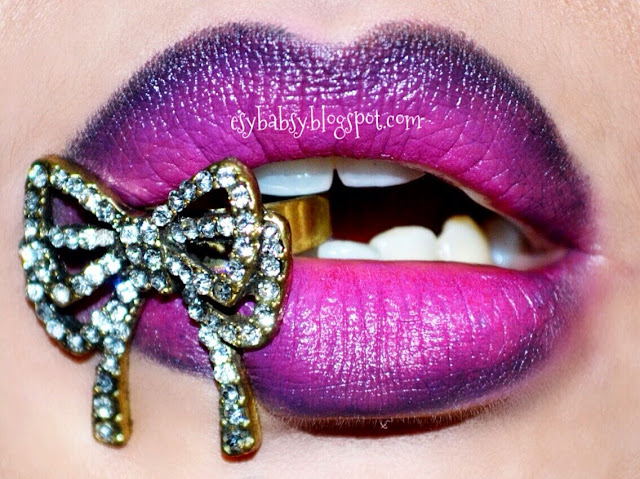
In the end, after attempting 3 consecutive times, I came up with this:
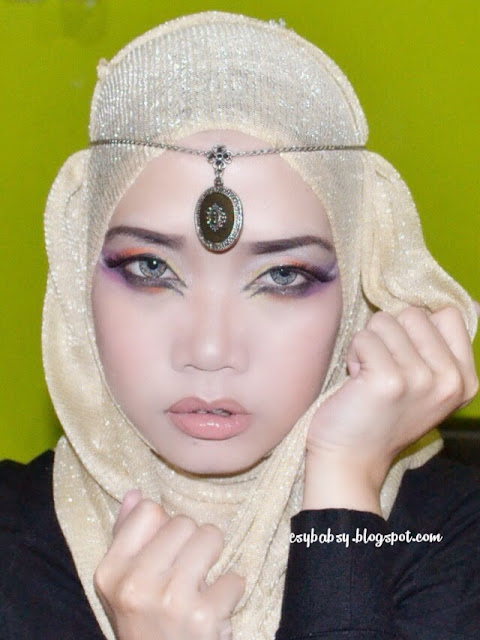
Yeah, the hair. I told you I improvised a lot. LOLs.
Considering the hard attempt, it was a miracle I still manage to provide you a pictorial. Check this out!
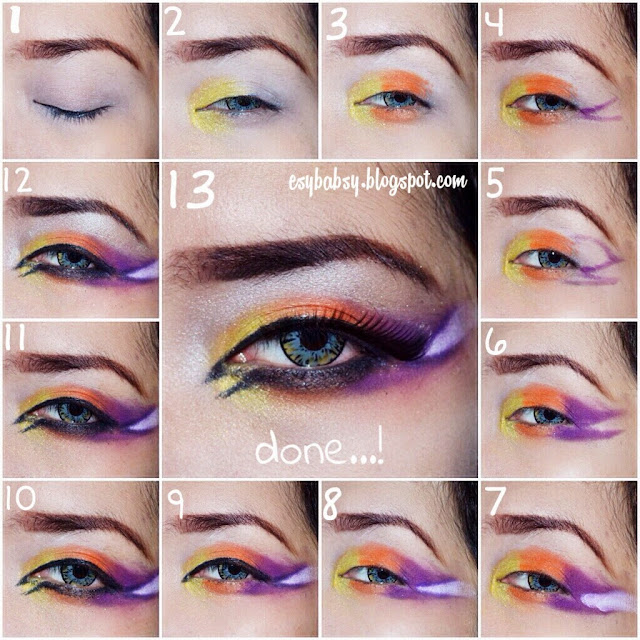
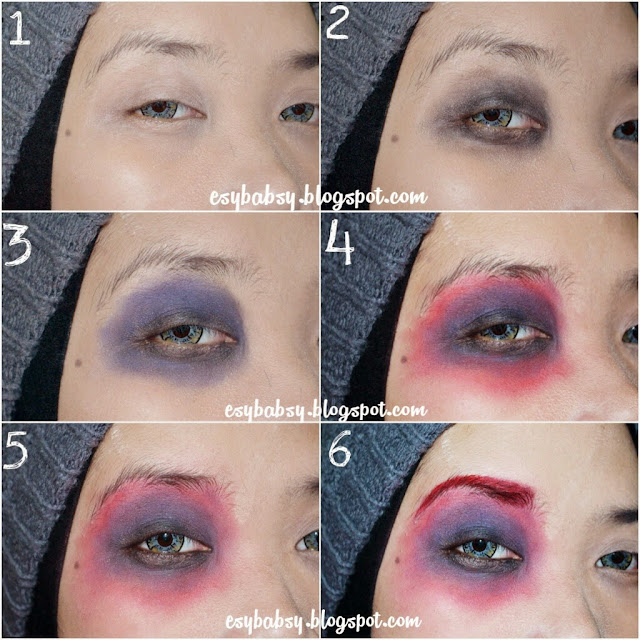
How to redo the eye makeup:
- Draw your eyebrows and apply eyeshadow base.
- Apply yellow eyeshadow on the inner and lower corner.
- Continue with orange shade.
- Using and an angled brush, apply two purple lines on your outter corner, like I did in the picture. This will work as an outline, so no need to be so careful.
- Draw an outline using the same tool and eyeshadow color.
- Fill it with the same purple eyeshadow. Erase the mistake with a q-tip.
- Using white eyeshadow, fill the gap on your outter corner.
- Retouch again using purple eyeshadow and an angled brush.
- Blend the colors all together, then draw eyeliner on your upper eye lid. Exagerate the tear duct to achieve longer looking eyes.
- Do the same thing with your lower lash bed and water line. Make a small wing downward on the inner corner.
- I'm not very good in drawing eyeliner, so I retouched the lower eyeliner by dabbing black eyeshadow with an angled brush.
- Highlight your brow bone with silver eyeshadow.
- Apply mascara and glue your falsies. Falsies is a must. And you are done!
Note: if you already came up witn something much easier steps than I did, you are very welcome, dear.
***
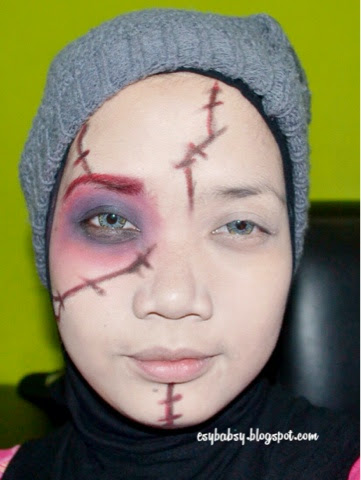
And as for the rest of the entire face, I didn't provide you with a pictorial. But this is more or less what I did that day:
- Do your skin care routines.
- Do your eye makeup first like in the pictorial above.
- Apply face foundation and set it with a face powder.
- Contour your nose and cheek bones.
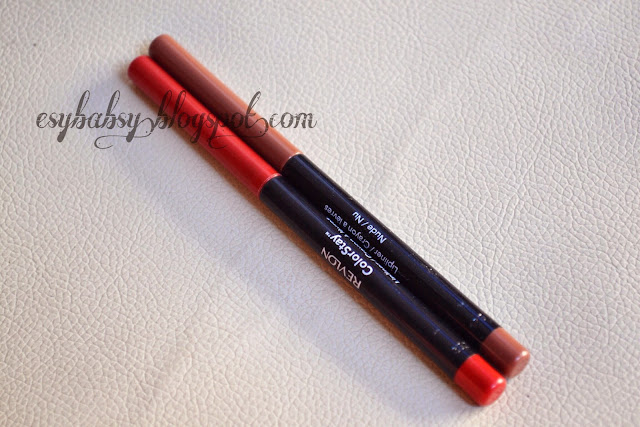
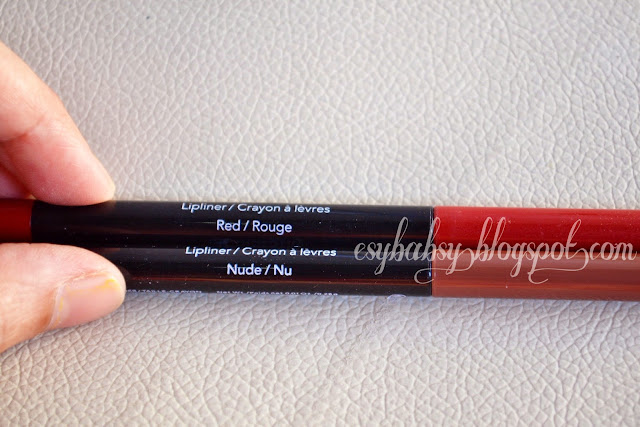
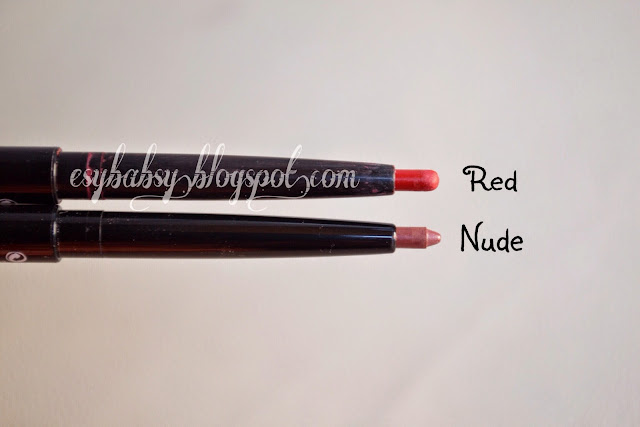
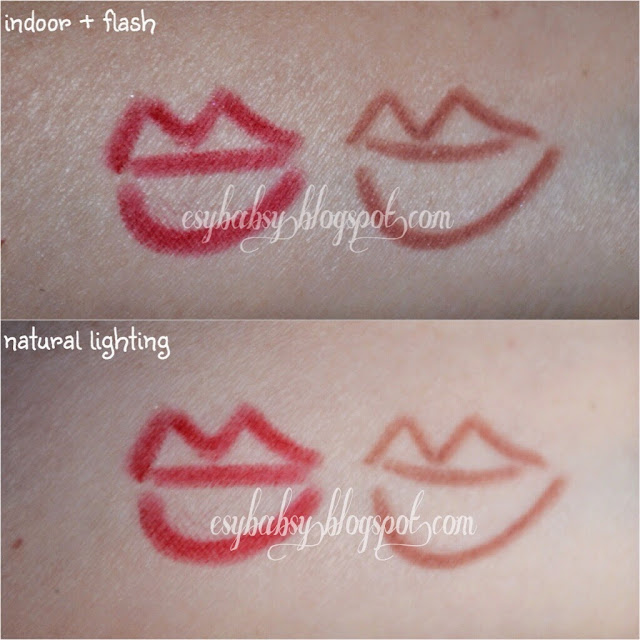
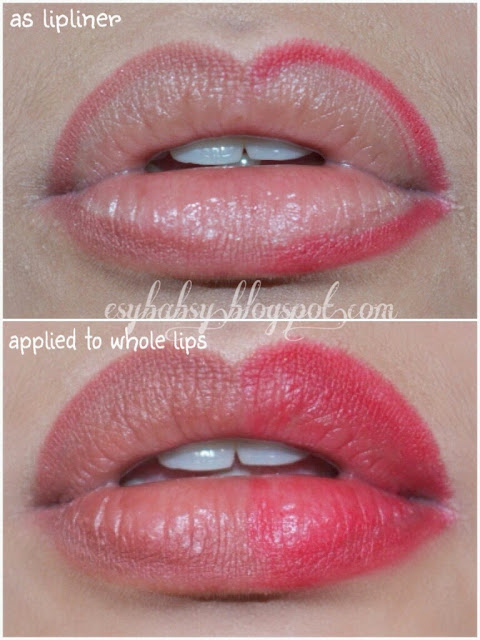
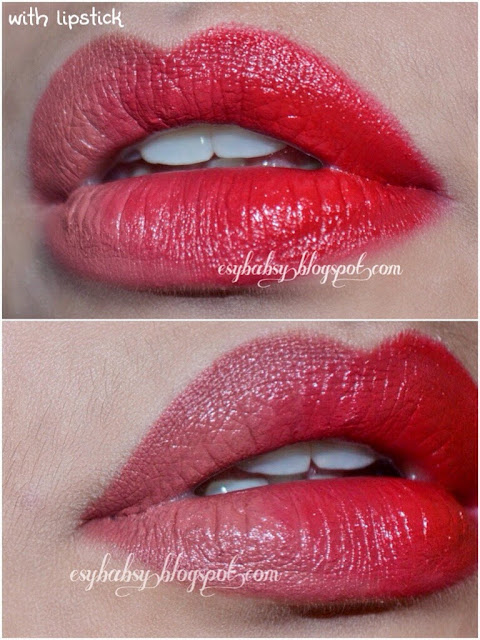
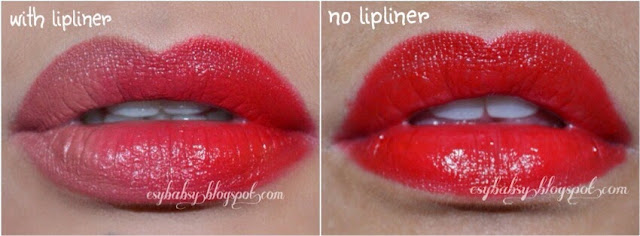
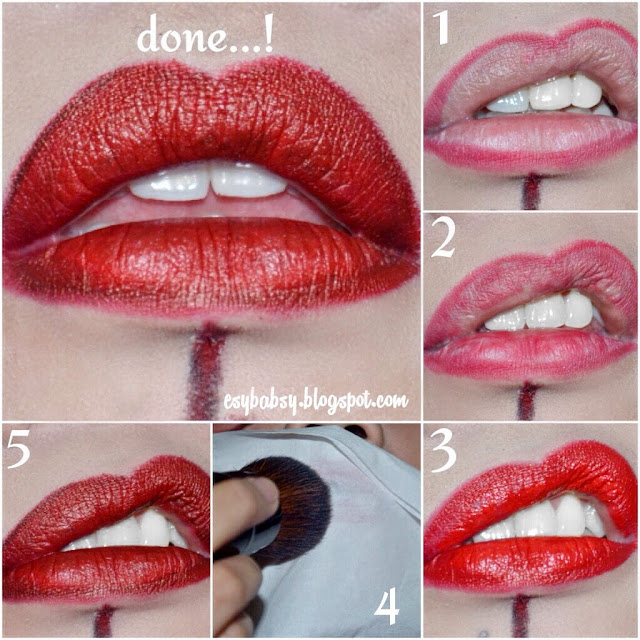
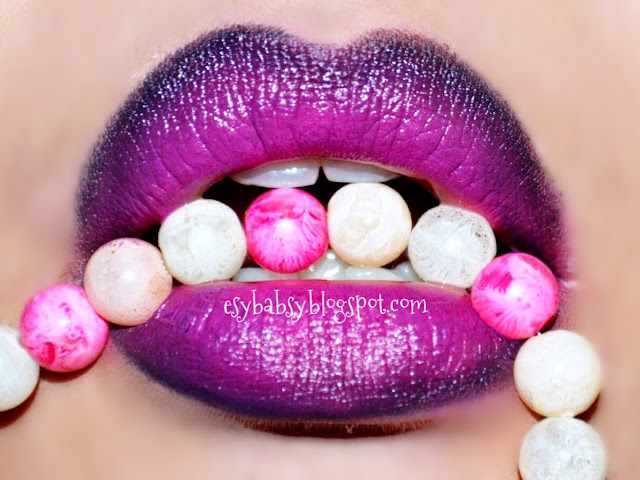
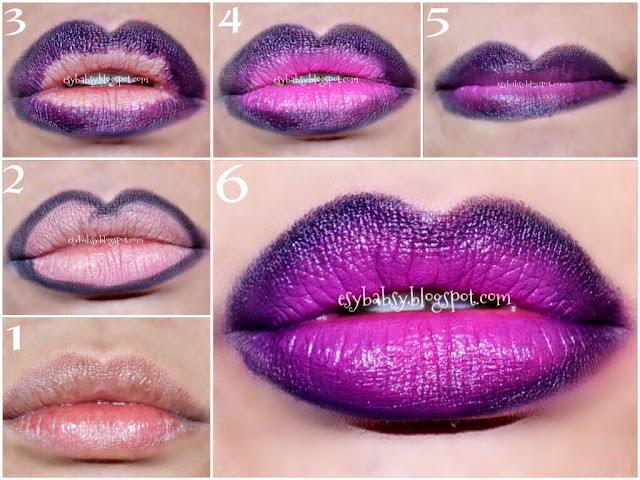
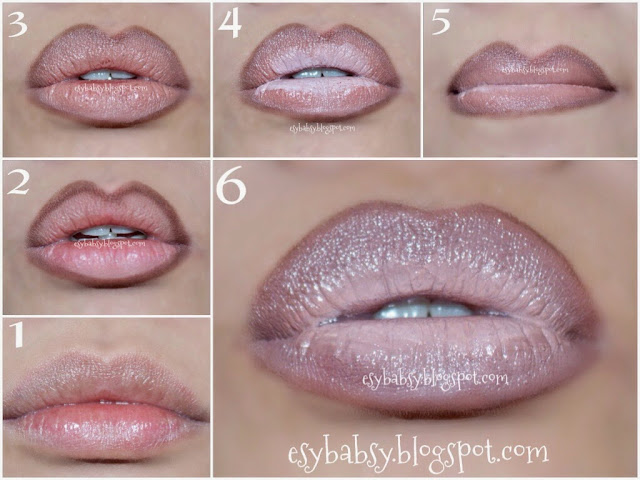
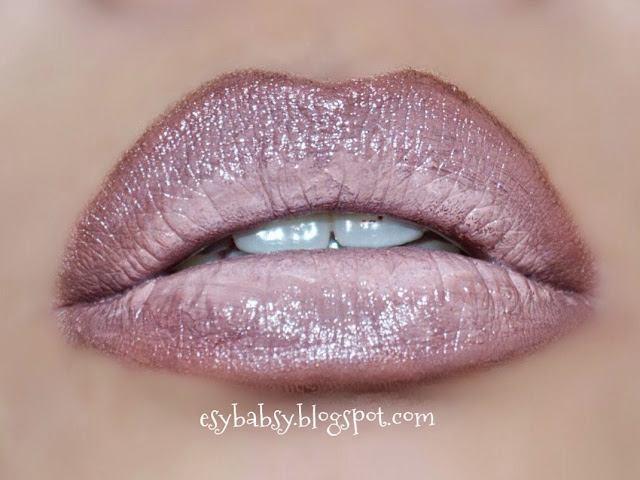
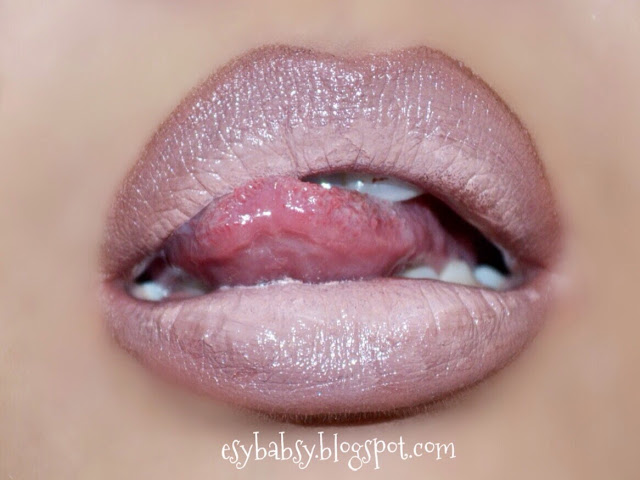
- For the lips, draw an outline first with a brown pencil, then set it with a nude colored lip gloss. Here I use a very pigmented lip gloss that looks like a lipstick.
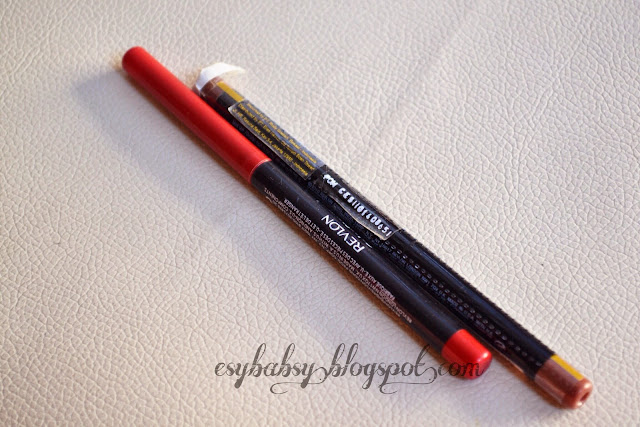
Products I abused:
- Face:
- Revlon Photoready Perfecting Primer
- Revlon Photoready Concealer (light)
- La Tulipe Cover Foundation (natural)
- Maybelline Clear Smooth Face Powder (light)
- Revlon Blusher (pink peony)
- Make Over Countour Kit
- Eyes:
- Viva White Eyebrow Pencil (brown)
- EH Proof 10 Eyeshadow Primer
- Coastal Scents 120 Original Pallet 1 (yellow, orange, black, silver, purple)
- Mizzu Eyeliner Pen (black)
- Artistry Automatic Eyeliner (black)
- NYX JEP (milk)
- Maybelline The Falsies Mascara (black)
- Baby Color Candy Rainbow Softlenses (gray)
- Unbranded falsies
- Lips:
- Viva White Eyebrow Pencil (brown) used as lip liner
- NYX Ultra Shine Lip Gloss (natural)
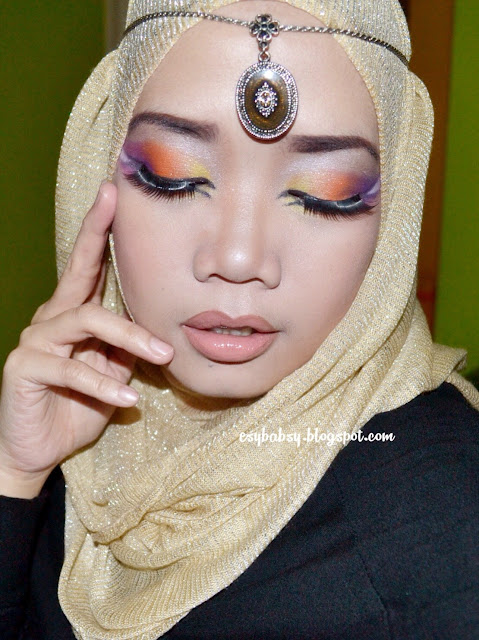
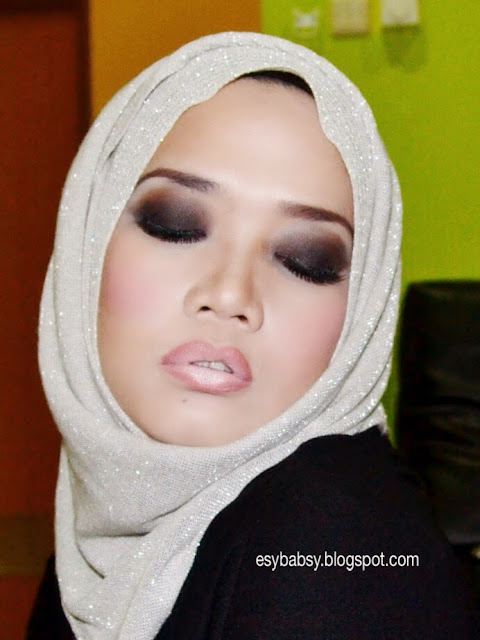
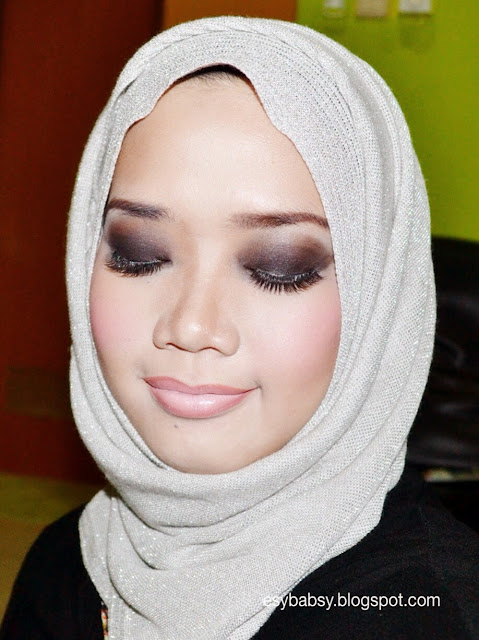
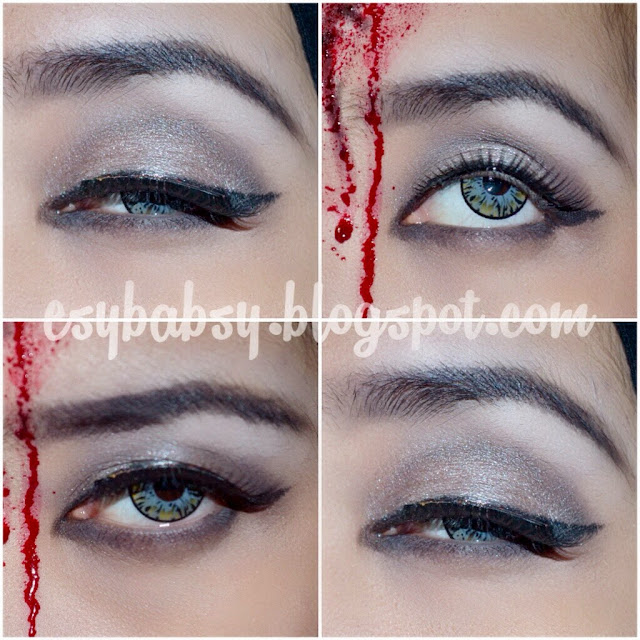
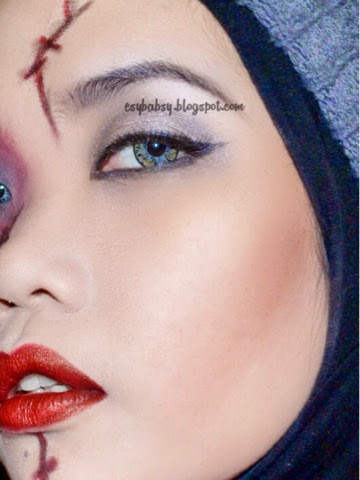
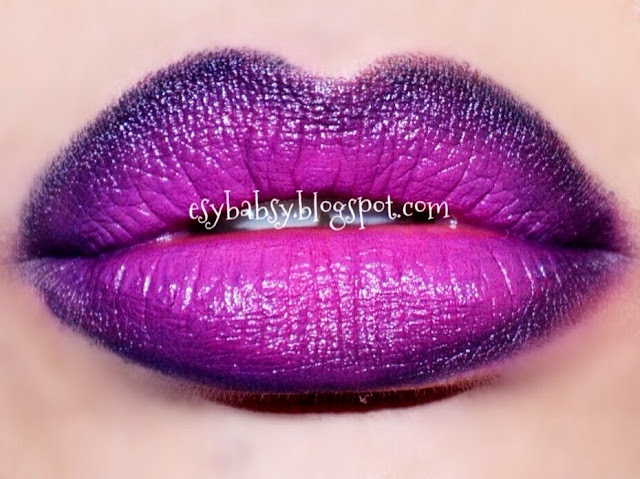
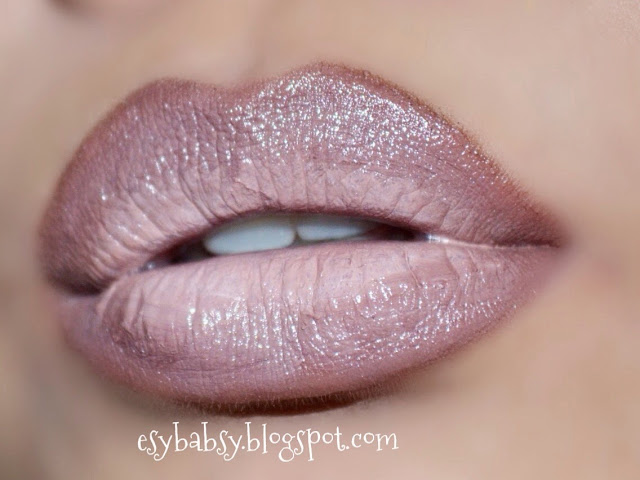
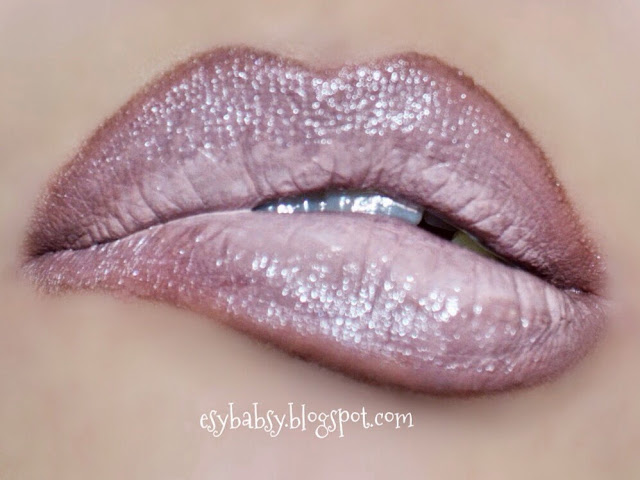
Looks in detail:
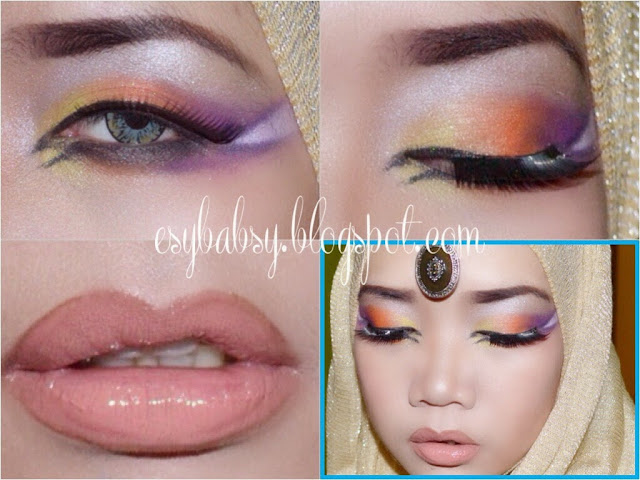
Picture spamming!


Okay, did my trial Katy Perry enough?
Nevermind. Forget I ever wrote that...


