Makeup collaboration! How awesome! And the most awesome part is finding the right people to collab whose vision is just as wacky as ours.
^_^
The theme of this collaboration is Betty La Fea. I don't know if you've ever watched this Latina TV series aired many years ago. It told about a geeky nerdy ugly bookworm named Betty, whom at the end of the story (as you can guess) transformed into a total eye candy whose beauty and brain knock her rivals out. Her transformation was merely because of makeup and new hairdo, not plastic surgery or magic.
So based on that idea, we imagine Betty who have finally become pretty and found her ideal man, being made over into a georgeous bride.
***
Yak cukup segitu bahasa Inggrisnya. Lanjut sekarang pake basa endonesa aja, lagi ga enak badan soalnya (apa hubungannya?). Dalam kolaborasi ini, aku barengan bikinnya sama Rere Dini dan Evelyn.
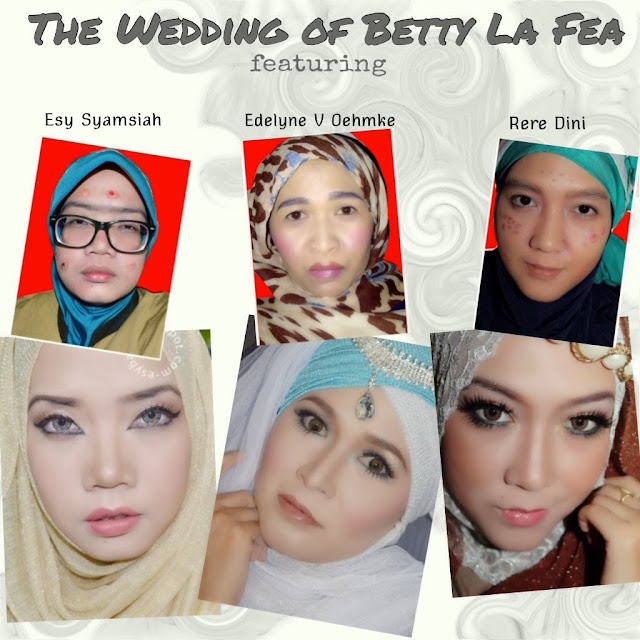
Somehow Google+ polished our faces a bit more because the real picture is not as flawless as the one above. Fufufufu....
Kindly check out my friends' artworks for this collaboration:
***
Berhubung mbak Bety ga punya stok foto buat ditempel di buku nikah, jadilah dia submit foto ini ke petugas KUA. Ini foto lama waktu dia ngelamar jadi CPNS. Gayanya juga masih gaya jadul. Alis nyambung, idung pesek, ditambah kacamata gede dan berat, belom jerawatnya. Ampun deh tuh.

Ngomongin soal jerawat, kayakanya aku agak lebay bikinnya deh. Karena jadinya kok kayak cacar air ya ketimbang jerawat. Btw, itu kacamata asliku loooh, tebel dan aslinya emang berat banget, makanya jarang dipake hahahah.
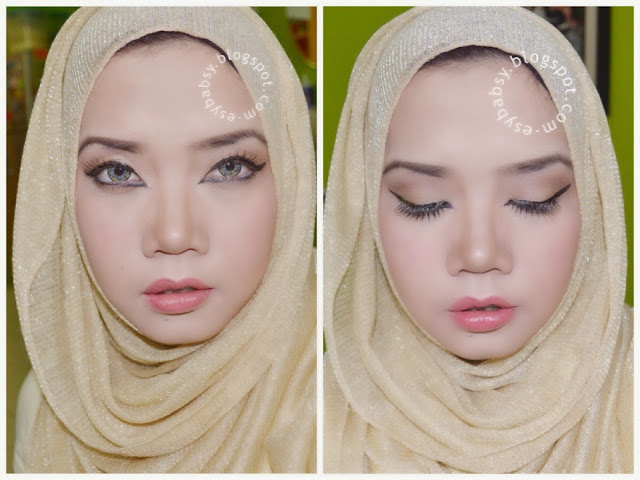
Dan setelah poles sana poles sini, inilah mukanya Betty pas jadi manten. Agak cakepan dikit lah dari foto di atas.
Dan setelah poles sana poles sini, inilah mukanya Betty pas jadi manten. Agak cakepan dikit lah dari foto di atas.
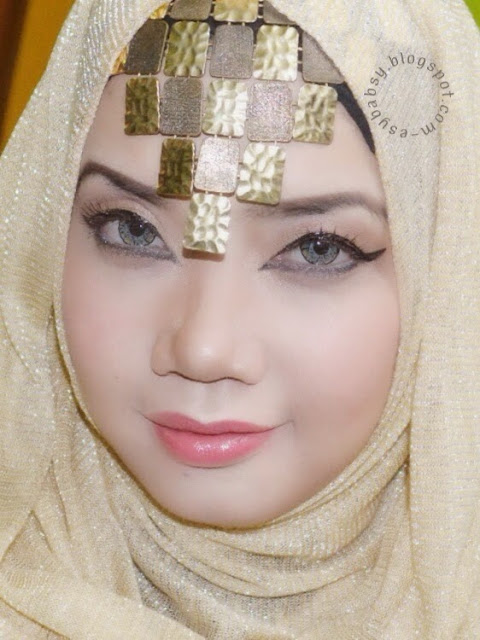
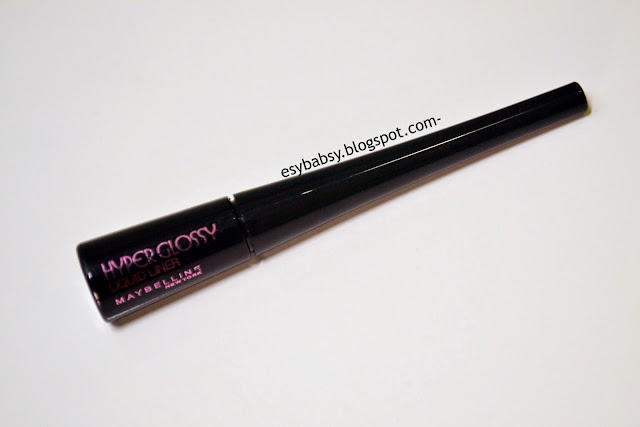
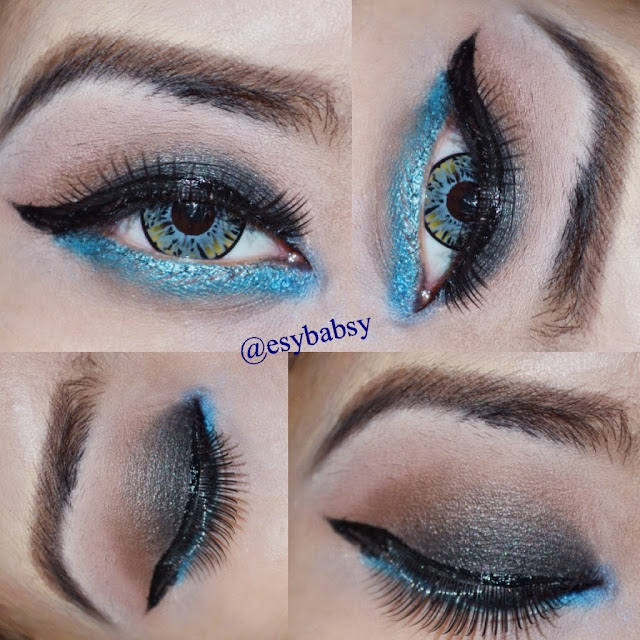
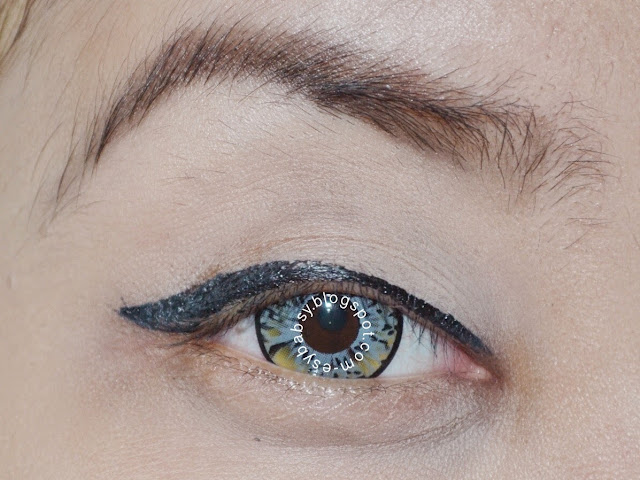
Lupakan makeup mantenan ala pengantin tradisional yang medok dan glamor, aku belom bisa bikin kayak gitu. Setelah browsing-browsing, akhirnya aku memutuskan untuk nyontek gaya makeup pengantin western yang lebih simpel dan natural. Cuma eyeliner-nya aku bikin agak tebal ala Arabian. So maybe hasil akhirnya lebih mirip makeup tamu kondangan, ketimbang makeup ala pengantin. Maafkan akuuuu, hiks...
But walau begitu, boleh di cek lah tutorialnya. Lumayan buat makeup pesta ala natural look.
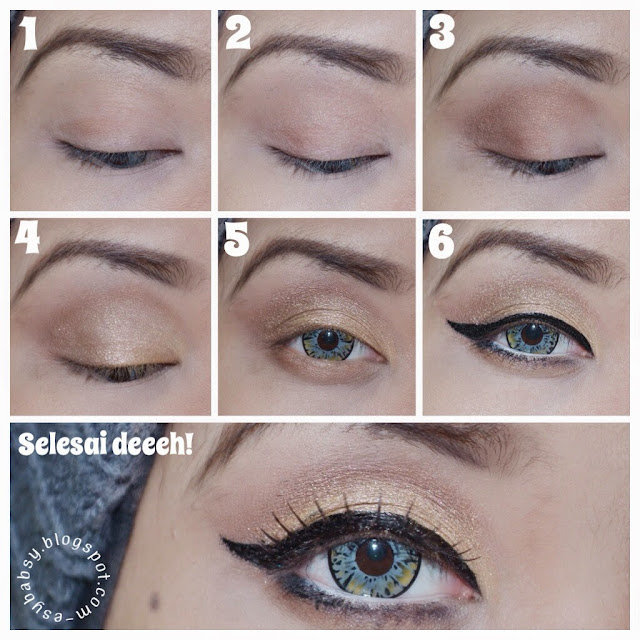
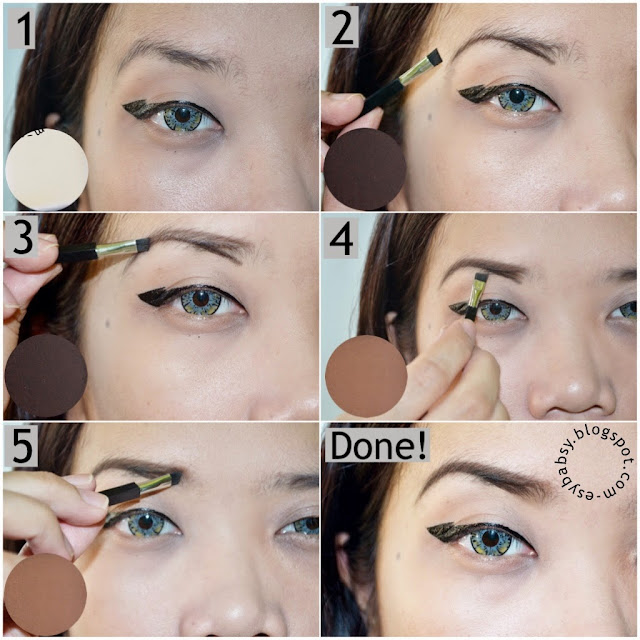
How to:
- After drawing your eyebrows, base your entire eylids with eyeshadow base.
- Apply medium dark brown on your crease and outter V. Blend. This works as a base color.
- Apply a darker shimmery brown on the same place.
- Apply golden beige eyeshadow on your lids. Blend with the dark brown.
- Apply dark shimmery brown on lower lash bed.
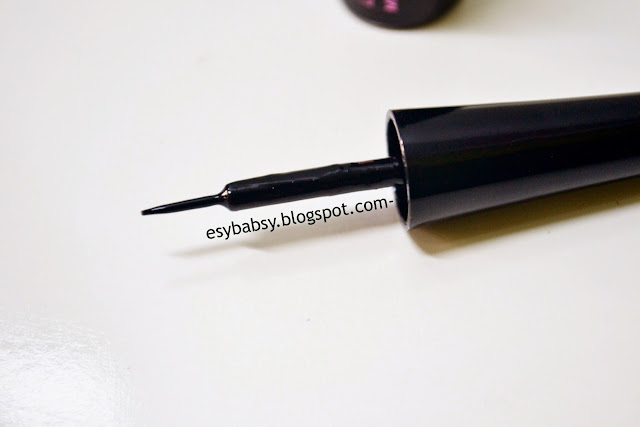
- Frame your eyes with black eyeliner. Fill in your waterline with white pencil.
- Apply false eyelashes and mascara, and you are done!
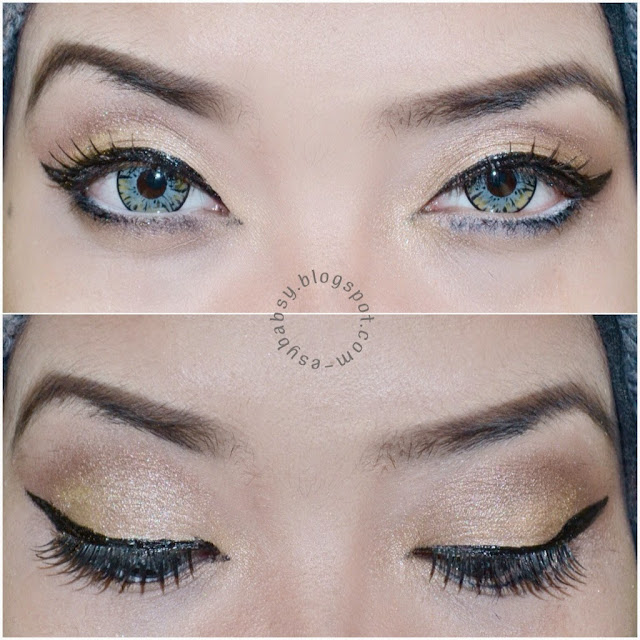
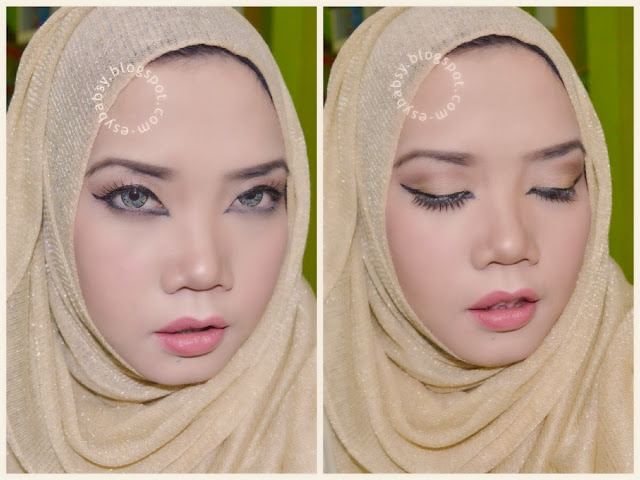
Final look:
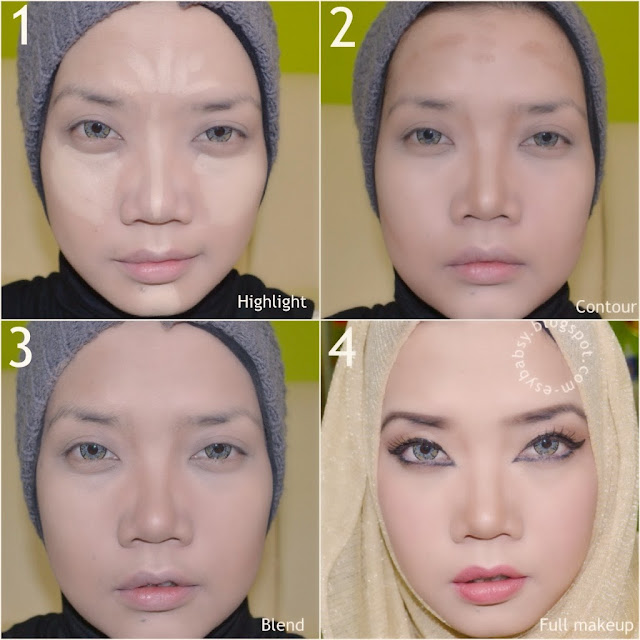
Untuk makeup wajah keseluruhan simpel aja sih. Aku cuma pake foundie yang non SPF, terus bedakan, cntour, highlight, pake blusher dan lipstik. Anyway, cara contour dan highlight pernah aku upload ya. Check out the tutorial here.
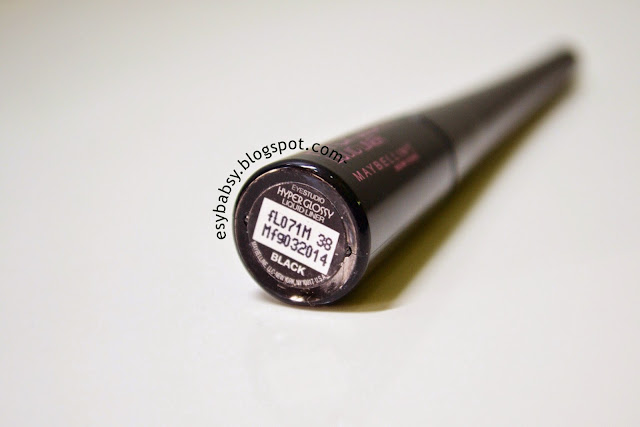
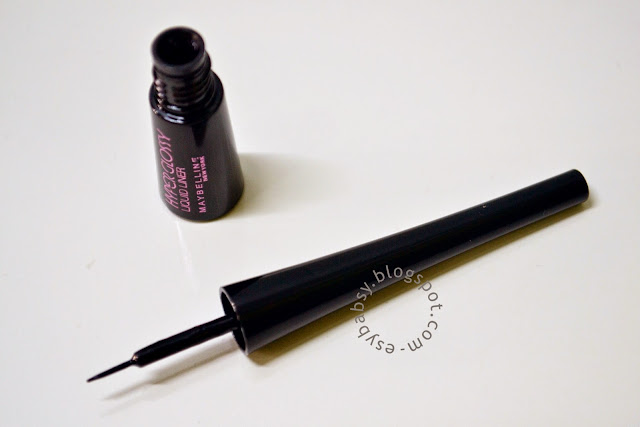
Products abused:
Face:
- La Tulipe Cover Foundation (Natural Beige) mixed with Maybelline Liquid Mousse Foundation (Beige)
- Maybelline Clear Smooth Face Powder (Light)
- Sari Ayu Lip Eye Kit (I used pink eyeshadow as blusher)
- NYX Single Eyeshadow in Dark Brown (as countouring)
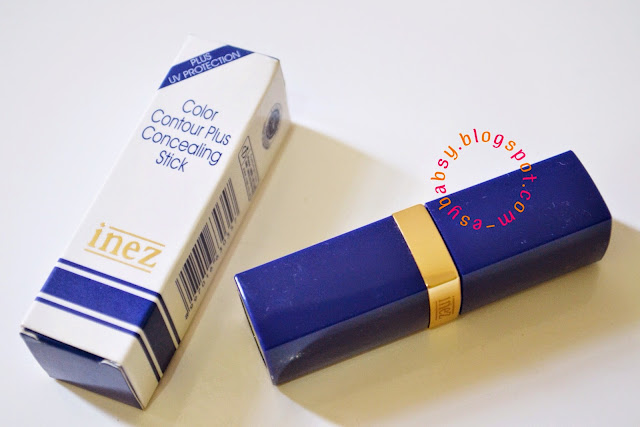
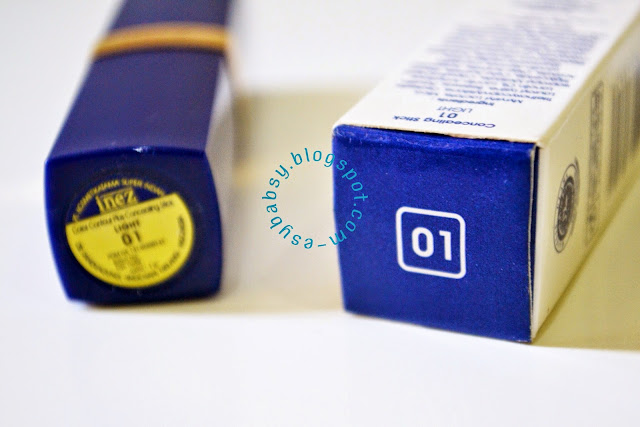
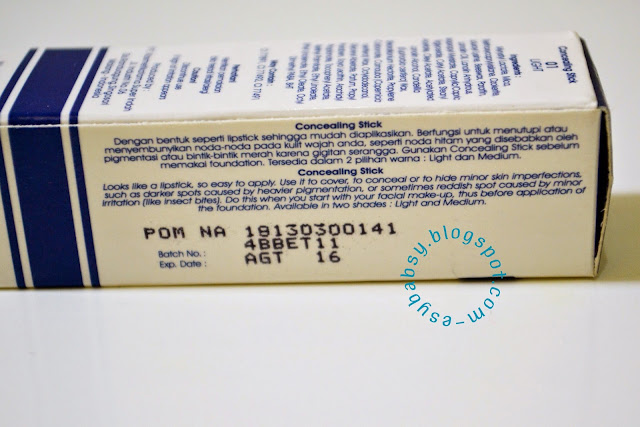
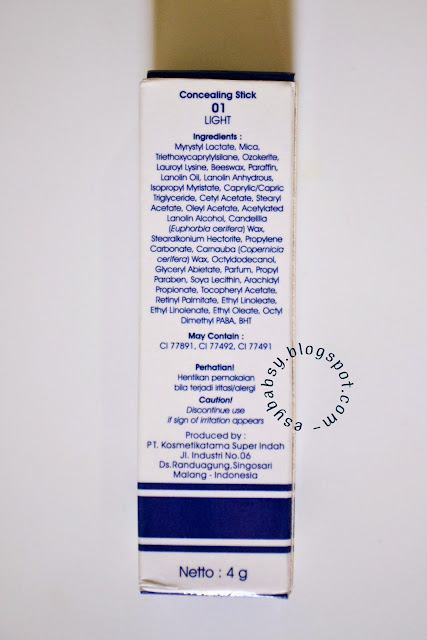
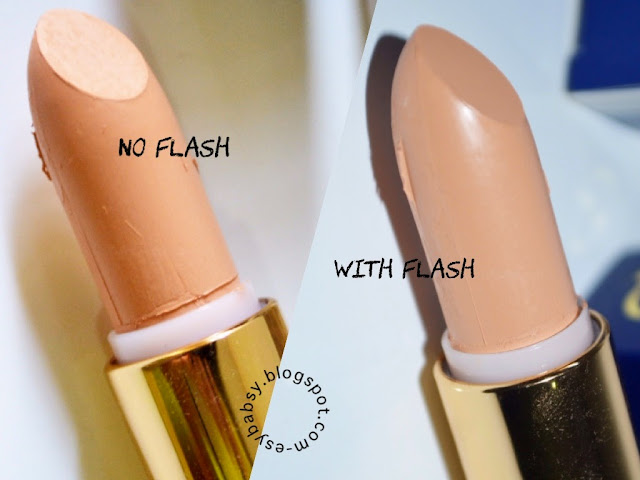
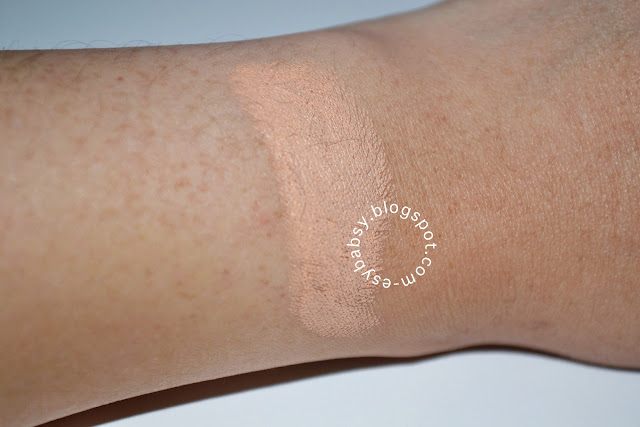
- Inez Color Contour Concealer in Light (as highlighter)
Eyes:
- Etude House Proof 10 Eye Primer
- NYX Single Eyeshdaow (Dark Brown)
- Sari Ayu Lip Eye Kit (Dark brown & Golden beige)
- Etude House Proof 10 Auto Pencil (Black)
- NYX JEP in Milk
- Unbranded flasies
- Baby Color Rainbow Softlenses (grey)
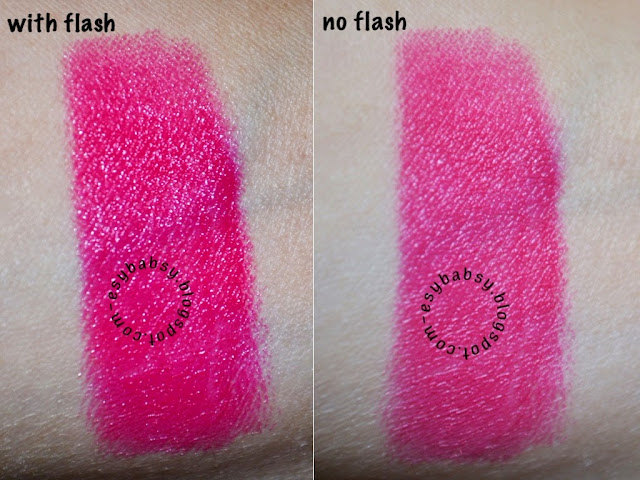
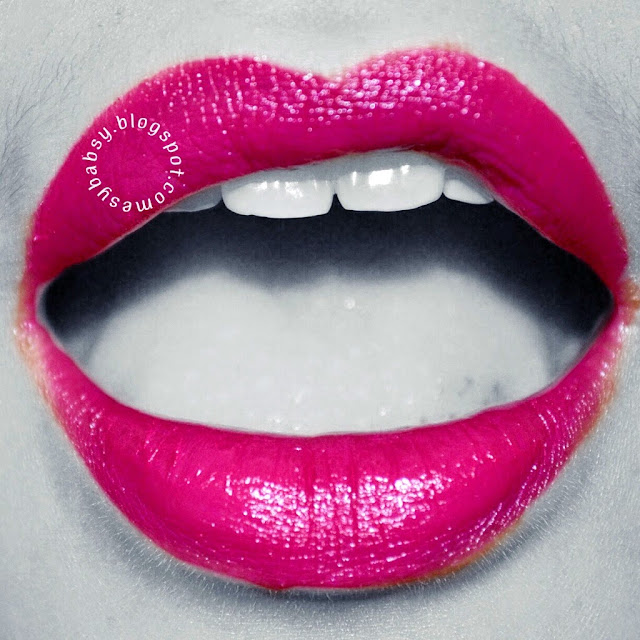
Lips:
- Sari Ayu Lip Eye Kit (Lipstick No. 1)
Aku upload foto narsis rada banyakan ah, soalnya lama banget bikin ginian. Oh ya, headpieace-nya aku copot ya karena berat banget dan lumayan bikin keringetan. Lagipula aku lebih suka mukaku tanpa ada headpiece itu, keramena soalnya. XD

***
See how makeup can really change your look? When my husband told me I look better without makeup, doesn't mean I have to be bared face all the time kan ya. Hahaha.
See you and be good!