Saturday, April 5, 2014

My Perfect Face

Hello, all you readers with the perfect faces wherever you are! This time, I just wanna set aside all the talks about makeup tools and beauty tips. Lets just talk about your face. Your bare face.

Seriously, what do you see when you look into the mirror bare face? Your face, of course! Hahaha. No, really, I'm talking about what your mind sees when your eyes are staring at your own bare face. Imperfections, I would say. Just what is exactly you define as a perfect face? To be honest, I have no idea. Even the most beautiful women in the world still find some spots that need to be carved.

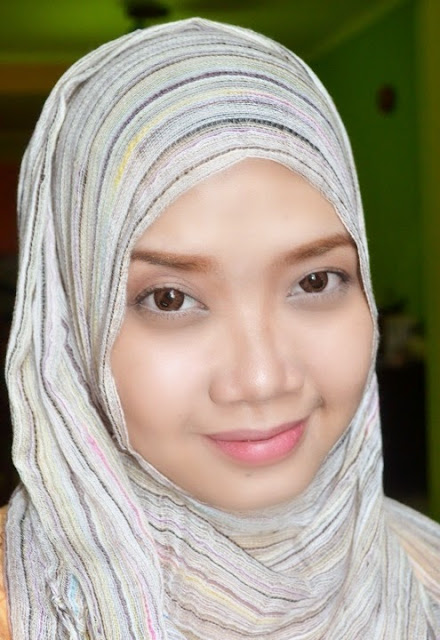
I may look my best on some pictures, but in reality, I don't always look that good, especially in the morning XD. Thanks to cosmetics, I was almost able to cover up all those things I consider as the imperfections. Lets just reveal them one by one. Oh, by the way, due to some reasons, I don't look completely bare face in this pictures since a drew my eyebrows and thin eyeliners. Other than that, this is my real face. And, yeah, no filter. So prepare your heart XD

Warning: Nausea alert!


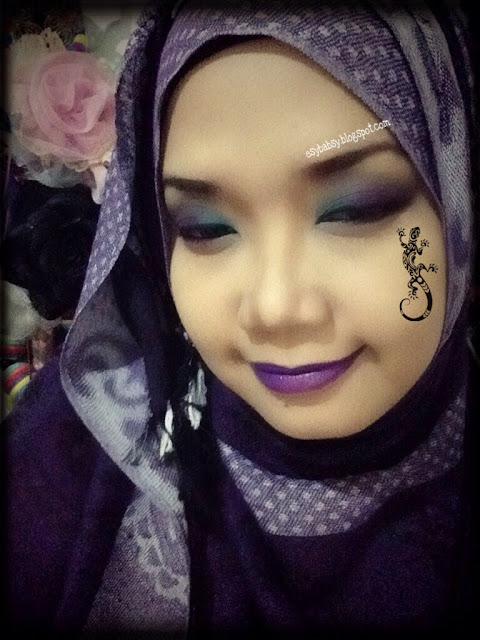
My super wide and 'spacious' forehead


My mother used to mock me a lot because of this. LOL. Even my family members and relatives have their own nickname for calling me because of this kinda forehead. But even so, I never been bothered by this and hold no grudge to my families XD. For many years, my mother maintained that medium bob hair cut with bang to cover my forehead, which lasted until I finally decided to wear Hijab. It worked well, although that's not the main reason
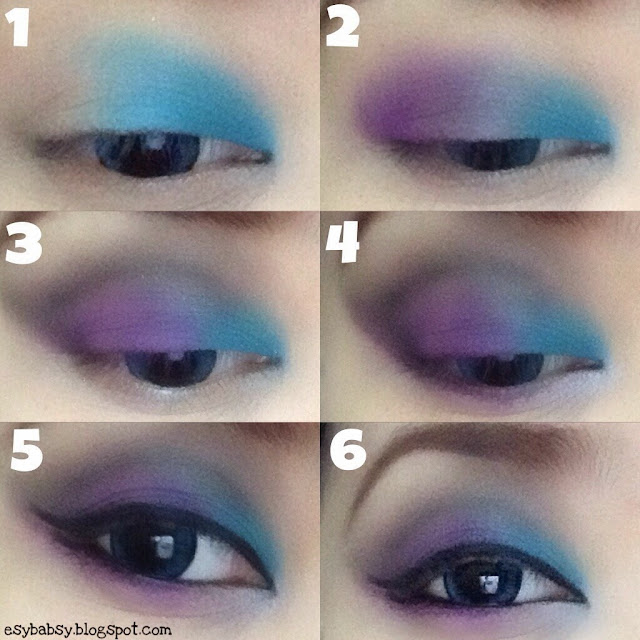
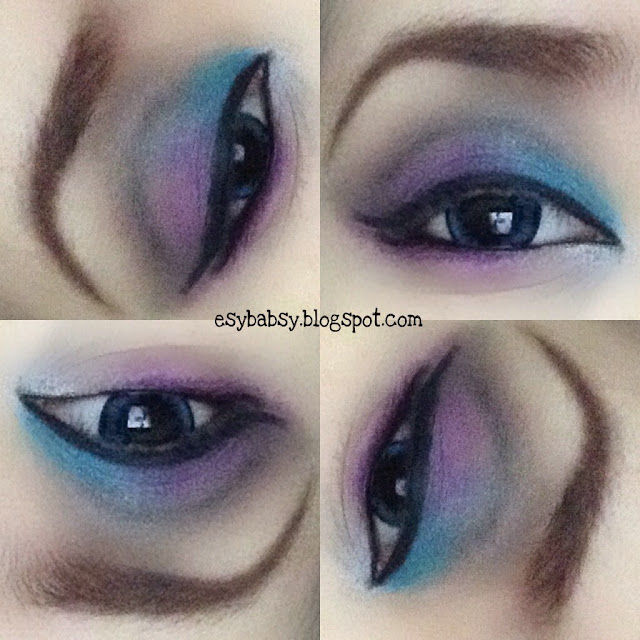
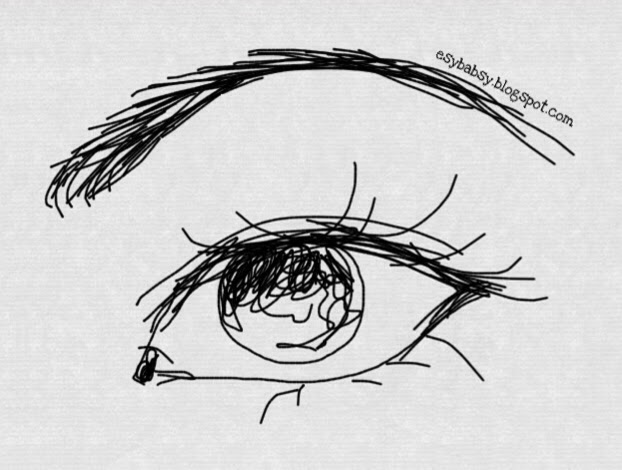
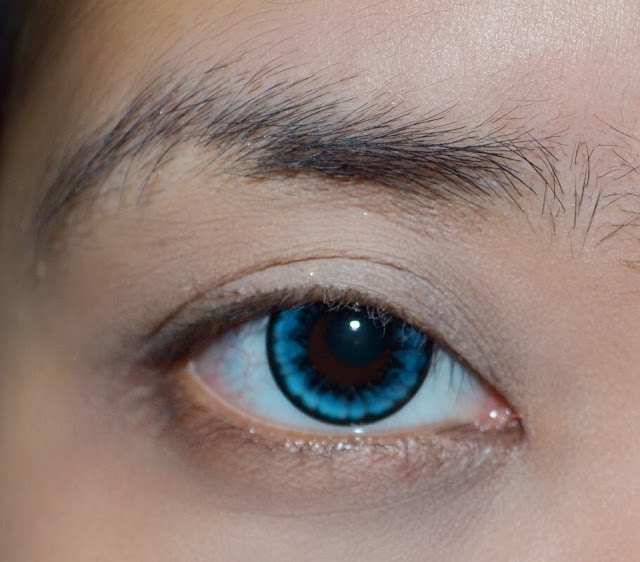
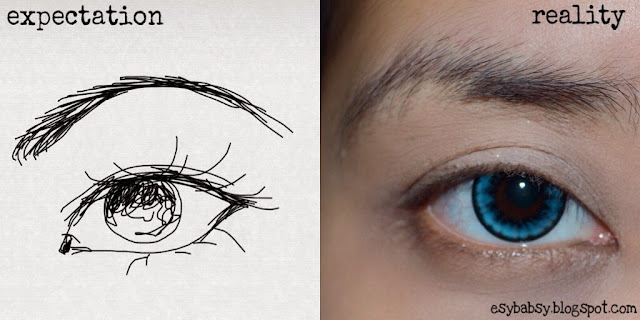
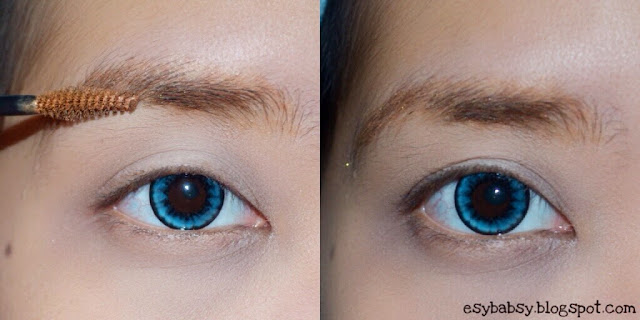
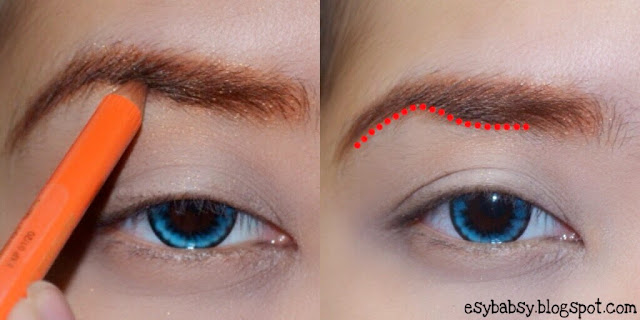
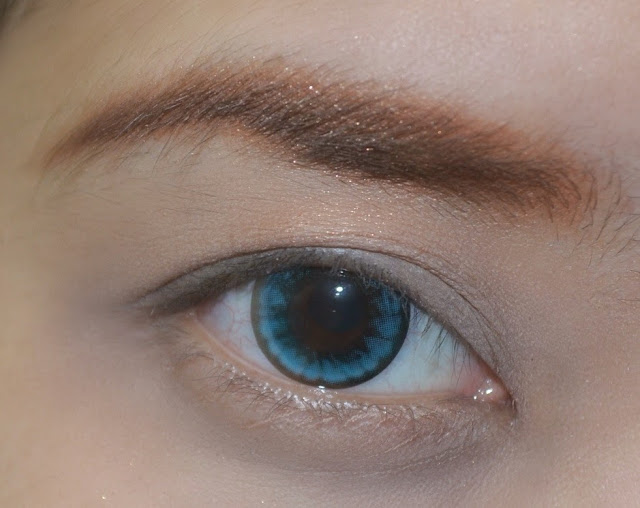
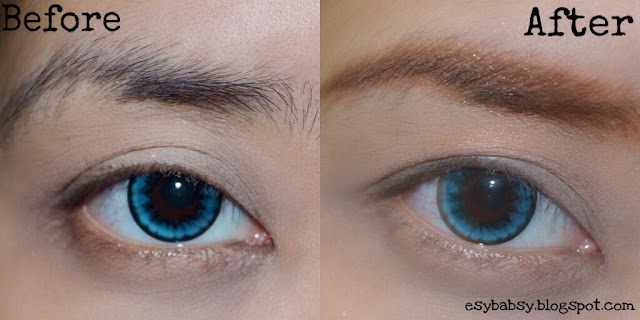
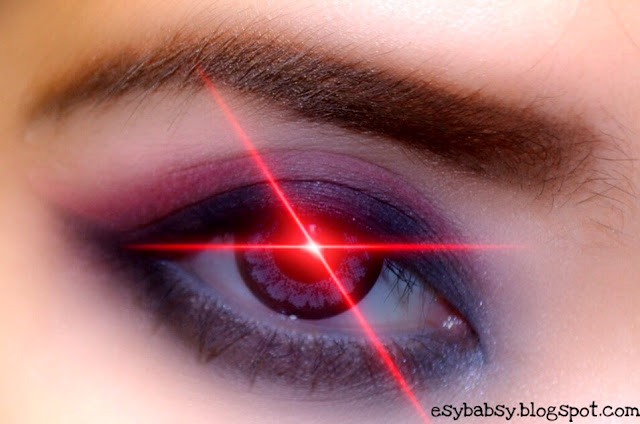

My eyes


Really. I have a lot to complain about my eyes. They're narrow, puffy, with very thin and short eyelashes, and those super dark circles... and they're super sensitive I get teary pretty often, and drawing lower eyeliners is completely a bad idea. They look fierce as well no matter how hard I try to smile kindly. But I love the fact that my eyes are still functioned, and I'm not suffering color-blindness. ^_^


My super thick glasses


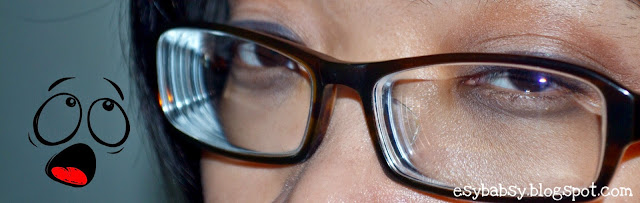
This topic actually still related to the above paragraph. See my glasses lenses? Oh, yeah, they're very thick. My ears often felt hurt pretty badly from holding the weigh. I've been wearing these since I was 8 (I got bullied a lot as a child because of this) started with -2.00 and the number keeps on multiplying until I reached the age of 20. So, you can guess the minus and cylindris number by now. That's why in all of the tutorial I always wear soft lenses, simply because I can barely see without them. Wearing softlenses and glasses are mutually hurt. If I get the chance to win a billion bucks, I'd definitely get an eye surgery!


My flat nose


This item has been another target off all the stupid bullies back in my childhood and teenage hood. Luckily even though it's flat, but it's pretty small, and still fully functioned as a breathing tool. ^_^
Do you know that flat nose is actually a symbol of success? Hahaha.


My chubby and plumpy cheeks


These marshmallow shape cheeks actually only appear when I smile or laugh, it's weird huh? If don't smile, they really dissappear! But you know, chubby cheeks can really make you look younger! Guess how old I really am!


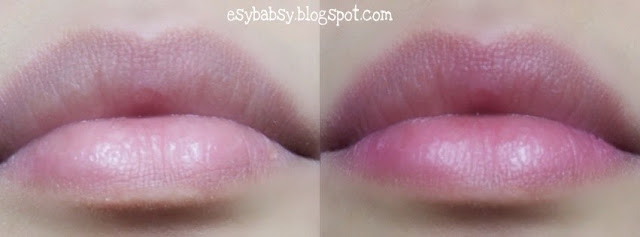
My not-so-white teeth


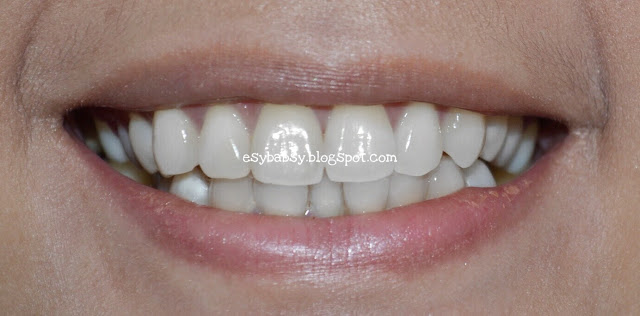
Although my teeth are lined neatly (thanks to my mother who persistent enough to take me to the dentist although I hate it so much), but they're not the whitest ones. This happens because my constant consumption on coffee since elementary school. So, I don't really confident wearing dark bold lipsticks. But well, this is because of my own fault.


That.. Errr.. Mole


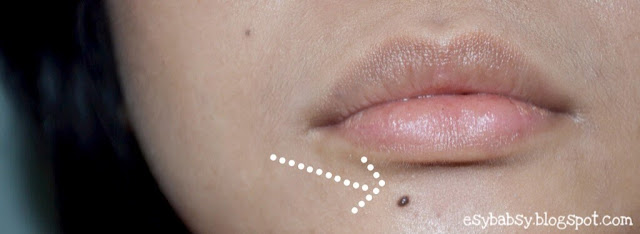
What is that, really?! I don't really like moles, to be honest. Kinda make my face look dirty. Sorry, God, I complain a lot. And, sorry, Cindy Crawford, you look great XD.


My curly pinkie


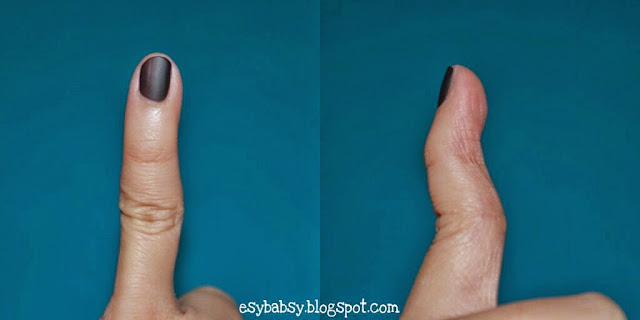
Err... Right, actually, not only my pinkies are curly, but all of my fingers are.

There are still many though: my fat belly, my fat calves, etc, etc. Sheesh... Women! You never had enough!


Okay, I finally revealed some items I consider as my own imperfections. Phew, it took a lot of courage. 

I don't mean to sound like a Miss Complaint, but lets just be honest, who in the world ever satisfy with her/his own appearance? Many people got bullied a lot, some of them even chose the worst path to end their suffering. But lemme tell you this before it's too late. The problem is not on how many imperfections you have, but how you face them, how you live with them, and finally accepting those as part of who you are. If you already achieved this stage, then you are living a happy and content life. 

So, to all the imperfect people out there, we all are!


Wednesday, April 2, 2014

Tutorial: Purple Power!

I've been keeping this tutorial for about a month in my draft, first meant to be my submission for Indonesian Beauty Blogger Makeup Challenge for Fairy Look, but I canceled it. Why? I'll let you know later.

Okay, let's start with clean eyes, defined eyebrows, and primed eyes.
If you've done all of it, now you can start.


  1. Apply blue color on half of your upper eyelids.
  2. Fill the rest with purple shade, then blend. Or you can do the other way around.
  3. Cut your crease and outter V line with black shade, then blend.
  4. Fill the half of your lower lash line with purple, and the rest of it with silver eyeshadow. Don't forget to color your tear duct as well.
  5. Apply eyeliner using the style I did in the picture. Separate the end line. Line your waterline with black liner as well. (Or you can choose any preferable eyeliner style).
  6. Apply mascara and you are done. You can apply false eyelashes, but I was a bit lazy that time. XD

Final result:


Full face view:


See? This is why I didn't submit this. I don't look like a fairy at all. More like a witch. A lizard witch. LOL.
Eye makeup ingredients:
  • NYX eyeshadow primer
  • LA Colors eyeshadow
  • Artistry pencil liner in black
  • Viva eyebrow pencil in brown
  • Clinique mascara in black

Lips:
  • Viva Body Painting in purple
Hope you enjoy the tutorial. See you!

Saturday, March 29, 2014

Review: Etude House Kissful Lip Care Lip Concealer

I bought this out of curiousity. What a lip concealer would do, I wonder? Does it work like an eye primer? Wouldn't a regular concealer be enough? It was cheap anyway (IDR 58K), so I didn't think twice to purchase this. Pardon me, I don't mean to sound so snob.
 
 
This tube comes in a tiny nude colored plastic tube, looks like a lip balm, with a creepy smiling girl illustration. Yeah, I think she's creepy. >_<


If you glide it on, you'll find this pale odorless stick that almost look like a regular concealer.


The ingredients and directions of use.


This product claims to even out the color of your lips and make your lipstick color look more vivid. But how they'll look on my lips? I've prepared some examples.
 
 
My bare lips is actually very pale and light colored. Note that you'll need an extra lip balm application before wearing this. I don't feel that heavy sensation on my lips like when I'm wearing a regular concealer stick on my lips. It is very light and not sticky.
 
 
Here are a few examples using lipsticks:
 
Do you notice that my lipstick color is lighter on the area applied with this concealer?


This example is more obvious. I tried to do that gradient look, and my neon pink lipstick changed into baby pink.
 
 
I tried a lot of lipsticks using this primer but I just took pictures of those two. Do I like it? I would answer, no. Not at all. This product really keeps its promise to lengthen the staying power of your lipstick color but at the same time also soften up their intensities. Many reviews I read claims the opposite effect though. I think this will work best for those who have natural dark lips and wanted to make it lighter, or when you want to make that Geisha or creepy doll look! Hahaha.
 
 
Verdicts:
  • Odorless
  • Works best for dark lips
  • Non sticky formula
  • I don't think this product will make your lipstick color pop out
  • Doesn't make your lips dry like a regular concealer, but lip balm usage is suggested
  • Maximize your lipstick staying power
  • Price when I bought this: IDR 58K (USD 6)
 
 
Repurchase?
Curiousity about one thing happened only once.


Have you tried this product before and have the opposite sentiment? Why don't give me your thoughts? Thanks for reading my review. ^^


Thursday, March 27, 2014

Review: Melanox Face UV Protector SPF 30 PA++

To be honest, wearing a sunscreen, especially on my face, is not my favourite activity. They felt greasy. But thanks to many health and beauty articles I read, now I consider this as an important item other than my eye concealer. Before, I only wear sunscreen on my body when I wanted to take my swimming lesson as a child. LOL.

My skin type is normal to oily combination, so it's really important to find a sunscreen with oil-free formula. I used to wear Loreal face UV protector for about a year, really liked the matte formula, but still it felt sticky. So I decided to try other sunscreen products. This is what I grabbed 6 months ago from a local drugstore in my area.


It comes in a small white tube packed in a carton box with the same design as the tube. This product was lined along with other face sunscreen brands, but the word oil-free formula and non-comedogenic catched my eyes. Many sunscreen would cost you with black pores in long term usage. So I grabbed it and kinda surprise to know the brand was Melanox. As far as I know, this local Indonesian brand is famous for its whitening ointment (yes, ointment, not cream) with a very dull-looking tube. More like a presciptioned ointment. 

The SPF 30 PA ++ is more like an average or medium protection a sunscreen could over, so I don't mind with that. Moreover, SPF above 40 have more risk in skin irritation.

And so I bought it. The price was around IDR 50K, almost IDR 60K (USD 6). The content was only 25 g.


The cap was swiveled shaped. Not very practical. I dropped the cap a lot when I wanted to apply this, especially when in hurry. 

The ingredients:


When reading the ingredients one by one (I'm very carefull about this one, paranoid maybe) I noticed that some of them are still among controversies in health and beauty products. So, for a couple a months I doubt whether to use it or not. It took a lot of courage for me to wear this. But my final verdict is like consuming MSG in instant noodles, right? It is actually dangerous if you consume it in a very large amount, isnt't it?


This is the application on my hand. The bottom picture is my hand after the application. And just like all sunscreens, it will give you that white cast appearance, especially under camera flash.


The cream was odorless and in a fleshtone color, it was actually pretty thick and dense, looks like BB cream, but very, very thick. Oh, don't worry, although it's fleshtone, but the result on your face is colorless.

Wearing this on my face, it felt very sticky. Gosh, how I hate this feeling! You need a lot of product to cover your whole face because of its thickness, so I think 25 g is not generous enough. I waited for about 5 minutes to let my face absorbed it, before setting it with my other makeup routines. And although I hate its stickiness, it actually gives you that matte look for the next 4 hours after the application. Of course I also wear this along with other oil free formulated makeup and skincare for its maximum performance. I've been wearing his for 4 months and so far it doesn't give me breakout whatsoever. And as for its protection effectiveness against UVA and UVB, well I guess it'll take further medication research in long term usage, so I'm not able to provide you with that information.

Oh, by the way, don't forget to apply this at least 30 minutes before leaving your nest. ^_^

Remember, sunscreen contained in your BB Cream or cake powder is not enough to protect your face from sunburn. Use a freaking sunscreen, kay.

Verdicts:
Matte look up to 4 hours after the application, more or less
Good staying power
Sticky feeling on your face
Thick cream
Odorless
Fleshtone cream, but colorless result on your face
SPF 30 PA ++
Price: IDR 50-60K (USD 6)
Where to buy: supermarkets, drugstores

Repurchase?
IDK. I just bought this non-local Banana Boat face sunscreen. Can't wait to try it out once I finish this tube!

Have you ever tried this sunscreen before? What's your experience with this?

Monday, March 24, 2014

Tutorial: How I Draw My Eyebrows

In most occassions, I llllove drawing eyes. This is how I do my eye sketch:


Dreamy, kinda? Heheh. Almond structured eye with curly long lashes and big eyeball, and especially: a perfectly arched eyebrow.

Most people say, you tend to imagine things you don't have. It's pretty much true. Because this is what my eyebrow actually look like:


Not a very flattering sight, huh? LOL. Except for the circle lens, everything you are witnessing now is a reality. You must thank me for trimming them, though. Because I was actually born with very thick and flat eyebrows, and... They were connected to each other. Aaargh...


So far, this is probably what you have in mind: 


Okay, okay, enough with the creepiness. Let me show you how I do my tricks to camouflage them.

Here are the tools I use:
  • Etude House eyebrow drawer (light brown)
  • Inez loose eye shadow (aztec gold). Review here.
  • Viva eyebrow pencil (brown)


First, draw your eyebrow with eyebrow drawer on your whole eyebrow area. What I like about an eyebrow drawer is that it combs your eyebrow as well as coloring them.


Define the area you just draw with gold eyeshadow.


Draw the dotted line area with eyebrow pencil to make it more defined and looked more natural.


Final result.


See the difference? At least now my reality is not too much far from my expectation, right? LOL.


Oh, here are a few tips from me:
  • The tools I use here comes in light shades, the result is somekind of light brown or strawberry blonde eyebrows. So, make sure to find suitable shades for your skin tone.
  • For darker complexion, you can use dark brown eyeshadow instead a gold one. Brown mascara is a great substitute if you do not have an eyebrow drawer.
  • Using powder eyeshadow is a bit tricky since the powder might fall on your eyelids. Use pressed ones instead. I use this shadow powder because the shade is similar to the etude eyebrow drawer. Once I found a pressed eyeshadow with similar color, I'd definitely move on.


Actually this is the photo I submitted for IBB MUC March 2014, but the eyebrow shade I present here is pretty much like that. Link here.


Well, there are so many ways to draw your eyebrows. This is how I do it. How do you do it?

Artinya: 
Banyak jalan menuju roma. Kalau kamu mau ke roma, jalan mana yg kamu pilih? 
 
Hihihi. 
Mulai ngaco.

See you!


Friday, March 21, 2014

Tutorial: Simple Red & Black Eye Makeup

Red and black are aaalways good together. Let's see how they'd look on your eyes.

Please enjoy the tutorial!


First of all, start with clean eyes. Define your eyebrow and apply eyeshadow base. Then you can move on to these:

1. Apply black eyeshadow on all over upper eyelids.
2. Apply red color on your crease and V line. Blend.
3. Line your eyes with black eyeliner.
4. Put a little silver shade near your tear duct.
5. Line your lower waterline with white pencil and apply mascara.
6. Apply black eyeshadow on your lower lashbed then smudge.

All done, you crazy people!

Final result:


Full face view? Nah.. I don't think so. I was kinda lazy putting on my hijab.

Instead, I'll just give you this.


Haha! Good luck, girls... And boys!

Comments or suggestions are always welcum ^_^


Monday, March 17, 2014

Review: Lip Ice Sheer Color "Bubble Gum"

Back again to budget beauty review ^_^

Hey, I've been using this Lip Ice thing since college, and ever since then I've bought dozens (maybe a hundred) of it because this lovely pink thing has become one of my everyday makeup routine.

To be honest, Lip Ice variant had multiplied into numerous items which kinda confused me. Lip Ice this, Lip Ice that. I kinda lazy reading each one of its variant (I always buy this while doing my monthly expenditure: enpagrow, mamih pokoh, bimolih, kecap bango, rinsso, odol, etc), it would be too much hassle reading one by one. So I usually will just pick any item with a pink color >_<
 
Let's see what I just grabbed:
 
 
I think most girls are very familiar with this, but for some of you who don't know what Lip Ice is, well, basically it's a tinted lip balm.
 
According to the backside of the packaging:
Goes on clear, then, changes to a subtle shade of sheer pink
 
So, when you glide this on your lips, the color won't change, but after a few minutes your lips will change color into a nice sheer pink shade. Already familiar with bunny lipstick (the green lipstick with golden chinese letters which your relatives usually brought from Hajj?), well, it's more or less like that. LOL
 

Nothing changed much in the packaging since the very first time I bought it: Pink plastic glide-on tube with baby pink plastic cap. The stick inside is white with a sheer fragrance of bubble gum (for this variant).

 
The ingredients and directions of use:


The result:

My bare lips and after the application. Actually, it changed a lot pinker than that, I glided too much XD

I've been using this for more than 10 years, from the time when Maybelline lipstick is an enormous luxury for me, and spending IDR 25K for makeup is an insane useless improvidence (but I spent USD100 for Marilyn Manson hardcovered autobiography!). Okay, it's out of topic... 

So far, for the last 10 consecutive years, I love the effect on me. It really soften up my lips but also give a sheer pink shade. At least I won't look too pale, compared to the time when I wear my colorless petroleum jelly. I think, this product is suitbale when you don't want to show too much effort to look pretty. Hischoolers, hello... ^^
 
Verdicts:
  • Moisturize your lips
  • Sheer pink shade after a few minutes application
  • Matte result
  • Easy to apply compared to lipstick
  • Nice fragrance
  • Price: Less than IDR 20K (USD 2)
  • Low staying power (in colors and moisturizer effect)
  • Easy to get
  • Where? Drugstores, convenience stores, supermarkets, traditional markets, everywhere! XD

Repurchase?
Always. How about you darlings?


Latest Post

First Impression: Evershine Moringa Series