Welcome May!
This is going to be my second post of the month, and the second time I participated in a makeup collaboration with my lovely Indonesian beauty blogger friends.
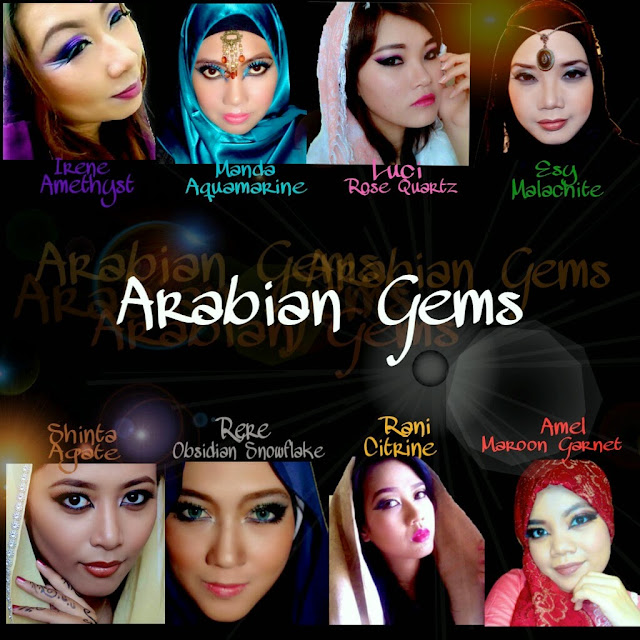
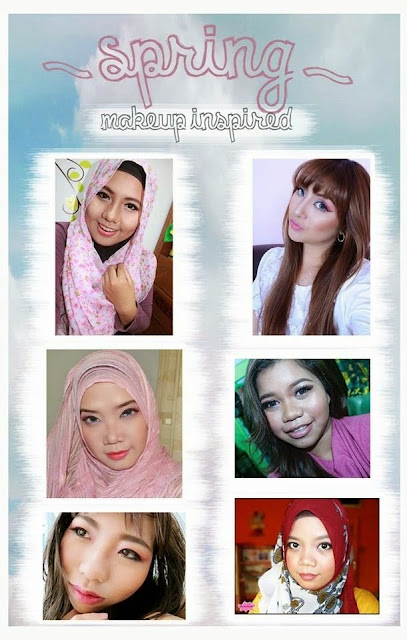
The theme this time is "Arabian Gems". Inspired by the Arabian bold eye makeup and various color of beautiful gems. We picked our own color to represent our looks and connect it with gem colors all over the world. How we ended up with Arabian and gems, it's a pretty long story by the way :)
My gem is Malachite, the symbol of transformation. Malachite comes in a large variety of green color and often look similar to Jade. In Greek mythology, the throne of Demeter, the Earth Goddess was designed from malachite and adorned with golden pigs and ears of barley. It's also been popular since the ancient times especially in Egyptian and Greek carvings and figurines, even crushed to powders and used as eyeshadow. Amazing how those ancient people do their makeup, right? These days, Malachite is popularly used in carvings, jewelries, and even as healing stones.
Some forms of Malachite:


This one's my favorite :)
For other makeup looks as well as inspiring tall tales about some other gem stones, kindly visit my pretty b-blogger fellas pages:
Shinta shintalauraswa.blogspot.com
Thanks a bunch for those ladies who would spare their precious time and effort to collab together!
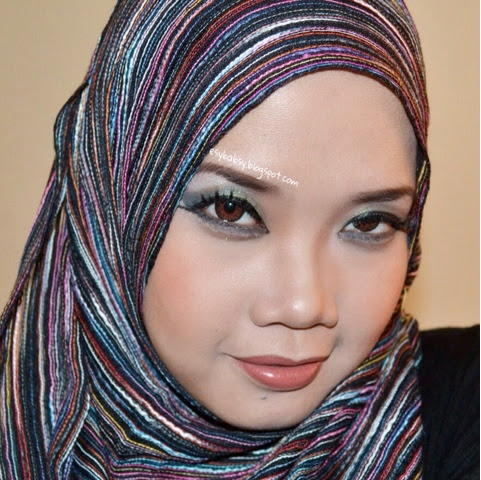
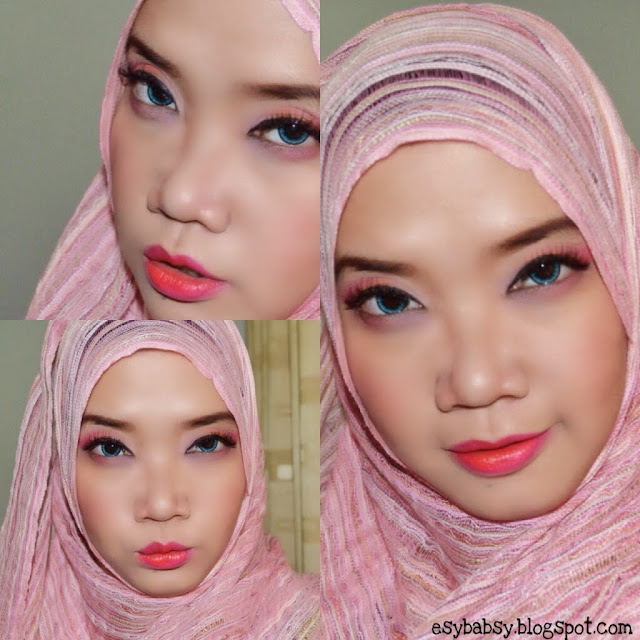
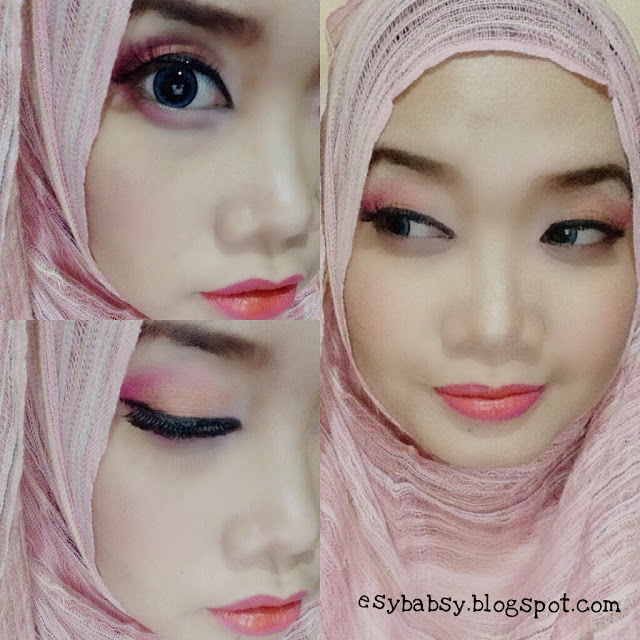
This is my FOTD inspired by the beautiful green of Malachite. Well, it's supposed to be green but I guess it's not shown well in the picture, maybe because I didn't use my green veils? IDK. Silly me!
Doing Arabian makeup is actually a bit challenging, because I hardly make my eyes look BIGGER.
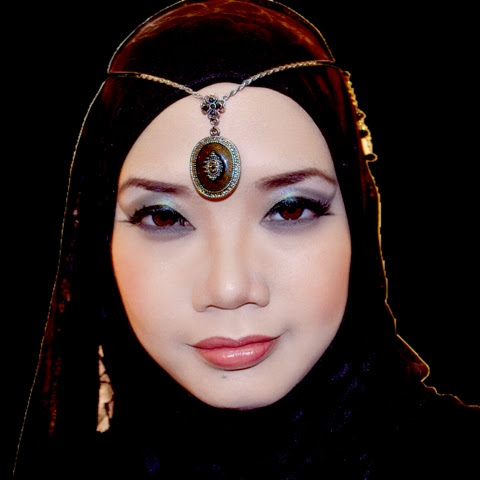
Ignore the necklace. LOL.
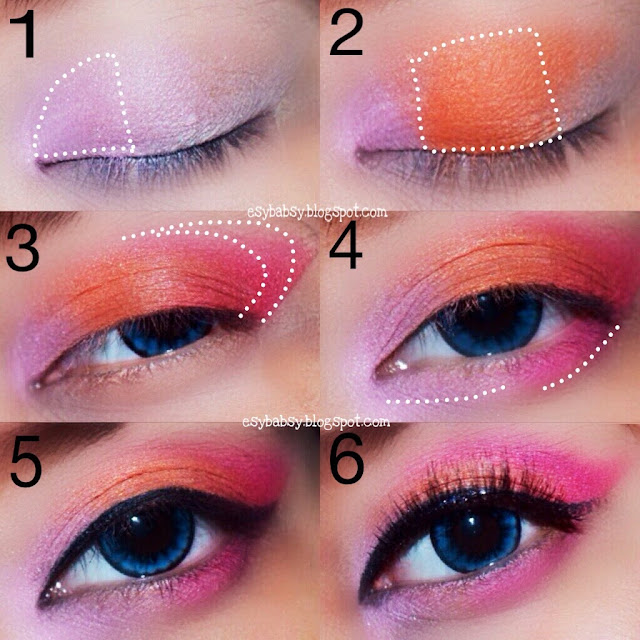
This is step by step tutorial how to achieve the look.
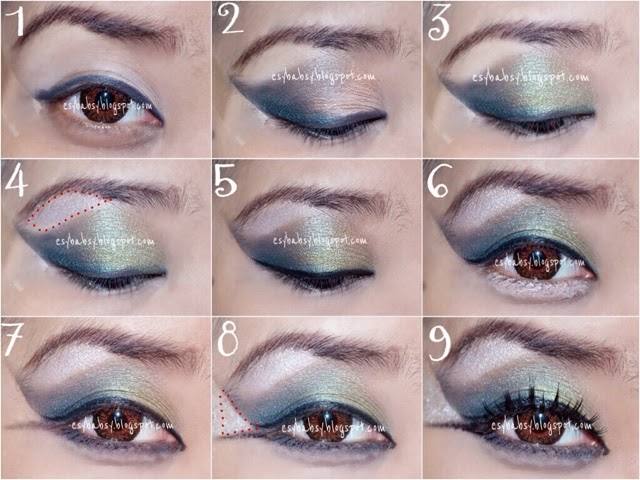
- Stick the tape. Line your upper eyelids with black pencil. You don't have to be so neat since this is just to make a pattern for further steps. And this is optional. You don't have to do this.
- Line your crease with dark green color, wing it to the tip of your eyebrow. Make it pretty high in the inner. Blend it a little.
- Fill the empty space with light green eyeshadow.
- Color your brow bone with silver shade. This ti e you can take off the tape.
- With liquid liner, line your upper eyelids, wing it.
- Apply eye primer on your lower lash bed. Optional.
- Using pencil eyeliner, frame your lower eyes, wing it downward, then smudge it using sponge.
- Fill the dotted area with silver eyeshadow.
- Apply fake eye lashes and mascara. You are done!
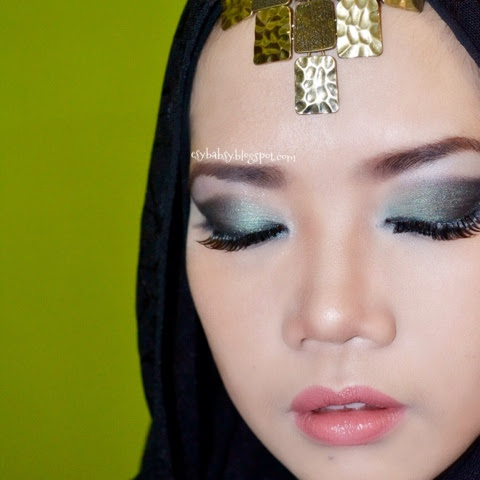
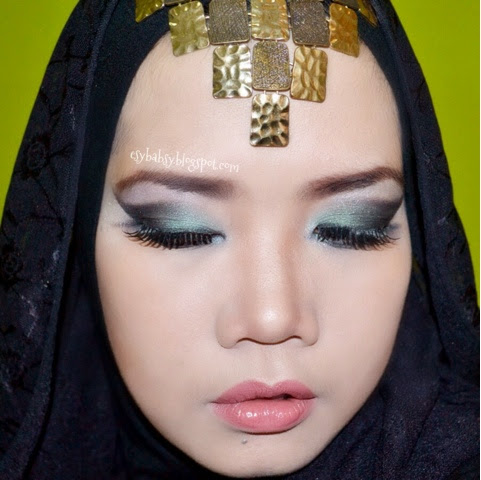
The key for a pretty Arabian eye makeup is bold eyeliners, bold eyeshadow, and bold eyebrows!
Final result:
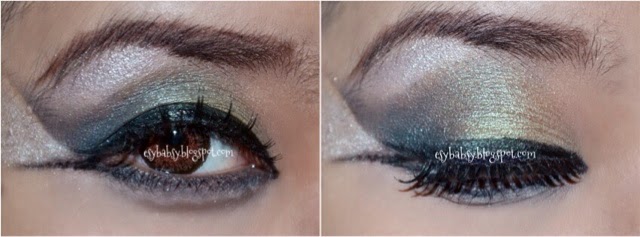
My eyes still look so small :(
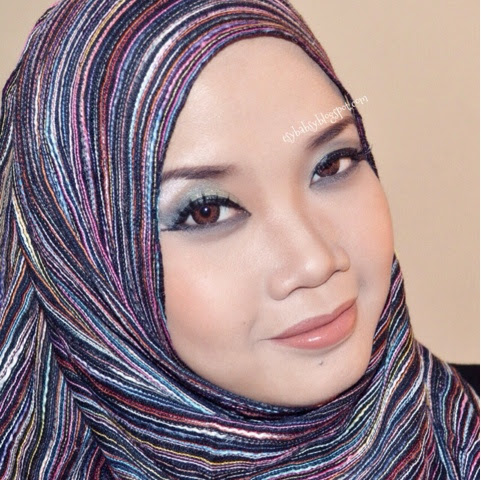
And these are my first failed attempts doing Arabian look.
Oh yeah, the last two pictures are heavily photoshopped since I took it in a non air-conditioned room, a hot sunny day, and sweat faded my base makeup. Sigh... Do you see the flaws? If no, then I'm a good photo editor. LOL.
Except for the last two pictures, here are the ingredients on my face:
Eye:
- Etude House Proof 10 eye primer
- MUA eyeshadow #14 (dark green)
- Inez Sparkling Loose Eyeshadow (golden moss/light green)
- Inez Sparkling Loose Eyeshadow (sparkling silver)
- Mizzu pen eyeliner (black)
- Artistry automatic eyeliner pencil (black)
- Maybelline The Falsies Mascara (black)
- Silky Girl eyebrow pencil (brown)
- Itsdiva falsies
- Ageha softlens (caramel brown)
Face:
- Tony Moly Luminuous Goddess Aura BB cream
- Maybelline shine free cake powder (01/Light)
- Caring Colors blusher (peach)
- Makeover Face Countour Kit
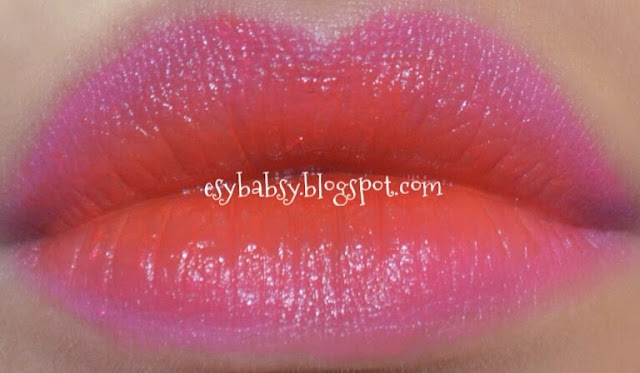
Lips:
- Beautystyle Lipstick (sweet earth)
Thanks for reading and have a nice day!
